
A quick InkVectors demo showing a raster image becoming clean high-contrast vector-style artwork.
Watch on YouTubeA quick look at the InkVectors workflow
Our new 20-second demo shows the core InkVectors workflow without a long setup: begin with an image, choose the conversion direction that fits the source, then inspect the resulting artwork before it moves into your real design or production process.
The point is not to turn every pixel into a path. It is to create a clear, high-contrast artwork direction from a source whose important shapes are readable—especially logos, lettering, signatures, icons and bold line art.
Start with a source that has something clear to say
InkVectors accepts PNG, JPG and WebP images. A simple, well-defined subject gives the conversion a stronger starting point than a noisy screenshot, a busy background or a photograph with lots of tiny texture.
- Use the cleanest version of the image you have.
- Crop away background details that are not part of the final artwork.
- Choose a high-contrast image when you want the clearest line and shape result.
- Keep the original source so you can compare and refine the artwork later.
Use the result where it needs to work
A conversion is most useful when you judge it in the workflow it is meant for. Open the result at the final size, inspect the edges and negative space, and check that the level of detail suits the design tool, printer or vendor that receives it next.
For brand-critical artwork, treat the output as a clean starting point. Review proportions, lettering and small details against an approved reference before publishing or producing the final file.
See the conversion direction before you prepare the final file
A strong source image can be simplified into clear, high-contrast artwork. Treat the converted result as a production starting point: inspect it at the final size, then confirm the format and detail requirements with the next tool or vendor.
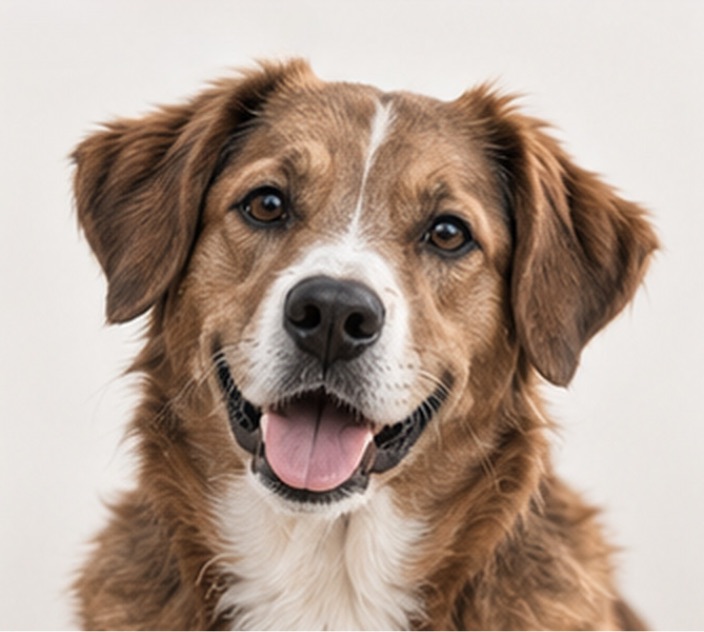
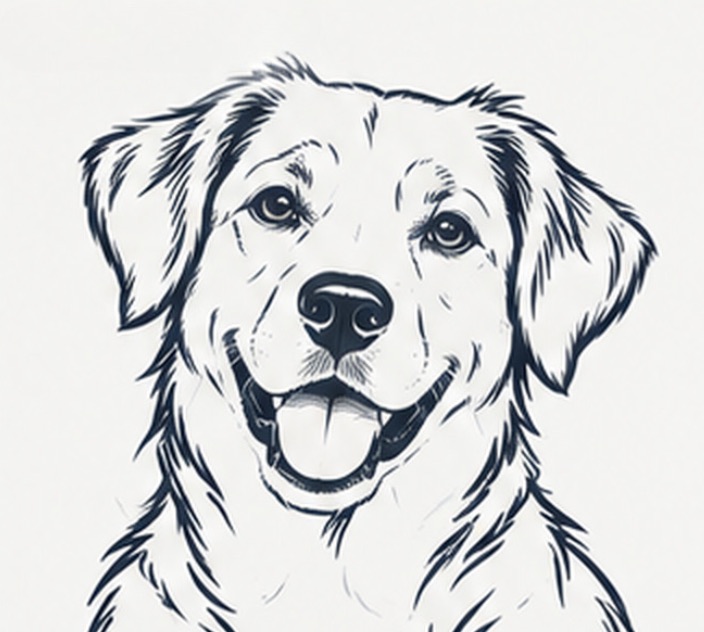
Example artwork illustrates a possible conversion direction. Detail, line weight and suitability depend on the source image and the intended workflow.
Production check before handoff
Keep the original source alongside any conversion result. Before a production handoff, inspect the artwork at its intended final size and confirm the format your next tool or vendor requires.
Convert an image- The new video gives you a fast look at the InkVectors image-to-artwork workflow.
- PNG, JPG and WebP files with clear, high-contrast subjects are strong starting points.
- Inspect the artwork in the real workflow where it will be used before final handoff.